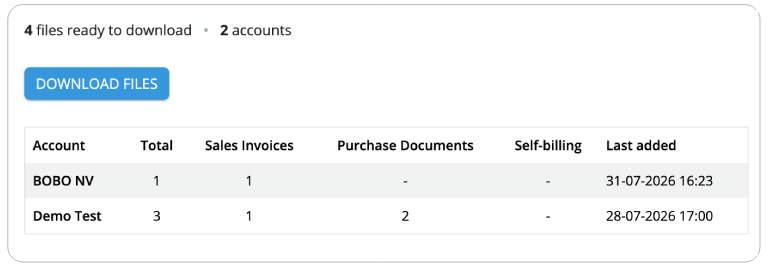
The Accounting Folder allows you to centrally collect and easily download documents from all your clients. You can decide individually for each client whether to use the Accounting Folder.
Activating the Accounting Folder
Open the menu in the top-right corner of the accountant portal and navigate to:
Links → Accounting Folder → Set up connection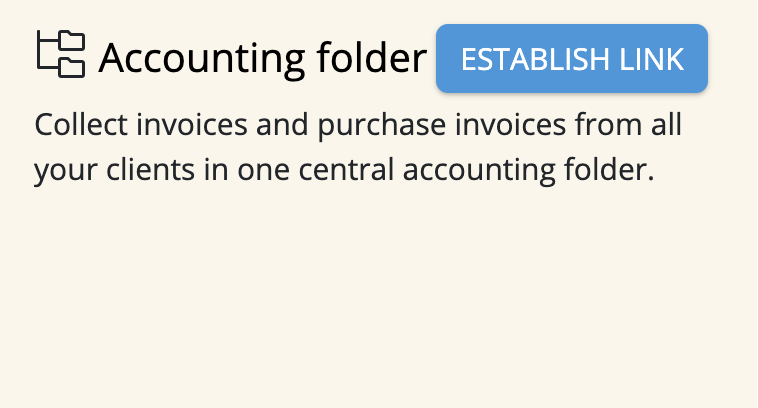
Enable the Accounting Folder for a client
Once the connection has been configured, you can enable it for each client individually.
Open the desired client's account. In the Accounting Folder section, click the blue button to enable the Accounting Folder for that client.
From that moment on, documents from this client can be sent to your Accounting Folder.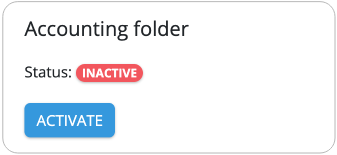
Receiving documents in the Accounting Folder
Once the Accounting Folder has been enabled for a client, the client can send documents to your Accounting Folder.
This can be done in two ways:
- Manually: The client opens the document they want to send and then selects Accounting > Choose a period > Confirm sending.
- Automatically: The client can enable automatic sending. This can be configured while setting up the Accounting Folder or later through the connection settings.
Downloading documents
There are two ways to download documents:
- Per client: Open the client's account and download only the documents for that specific client.
- All clients at once: In the accountant portal, go to Accounting Folder via the left-hand menu. Here you can download all available documents from all your clients in a single action.